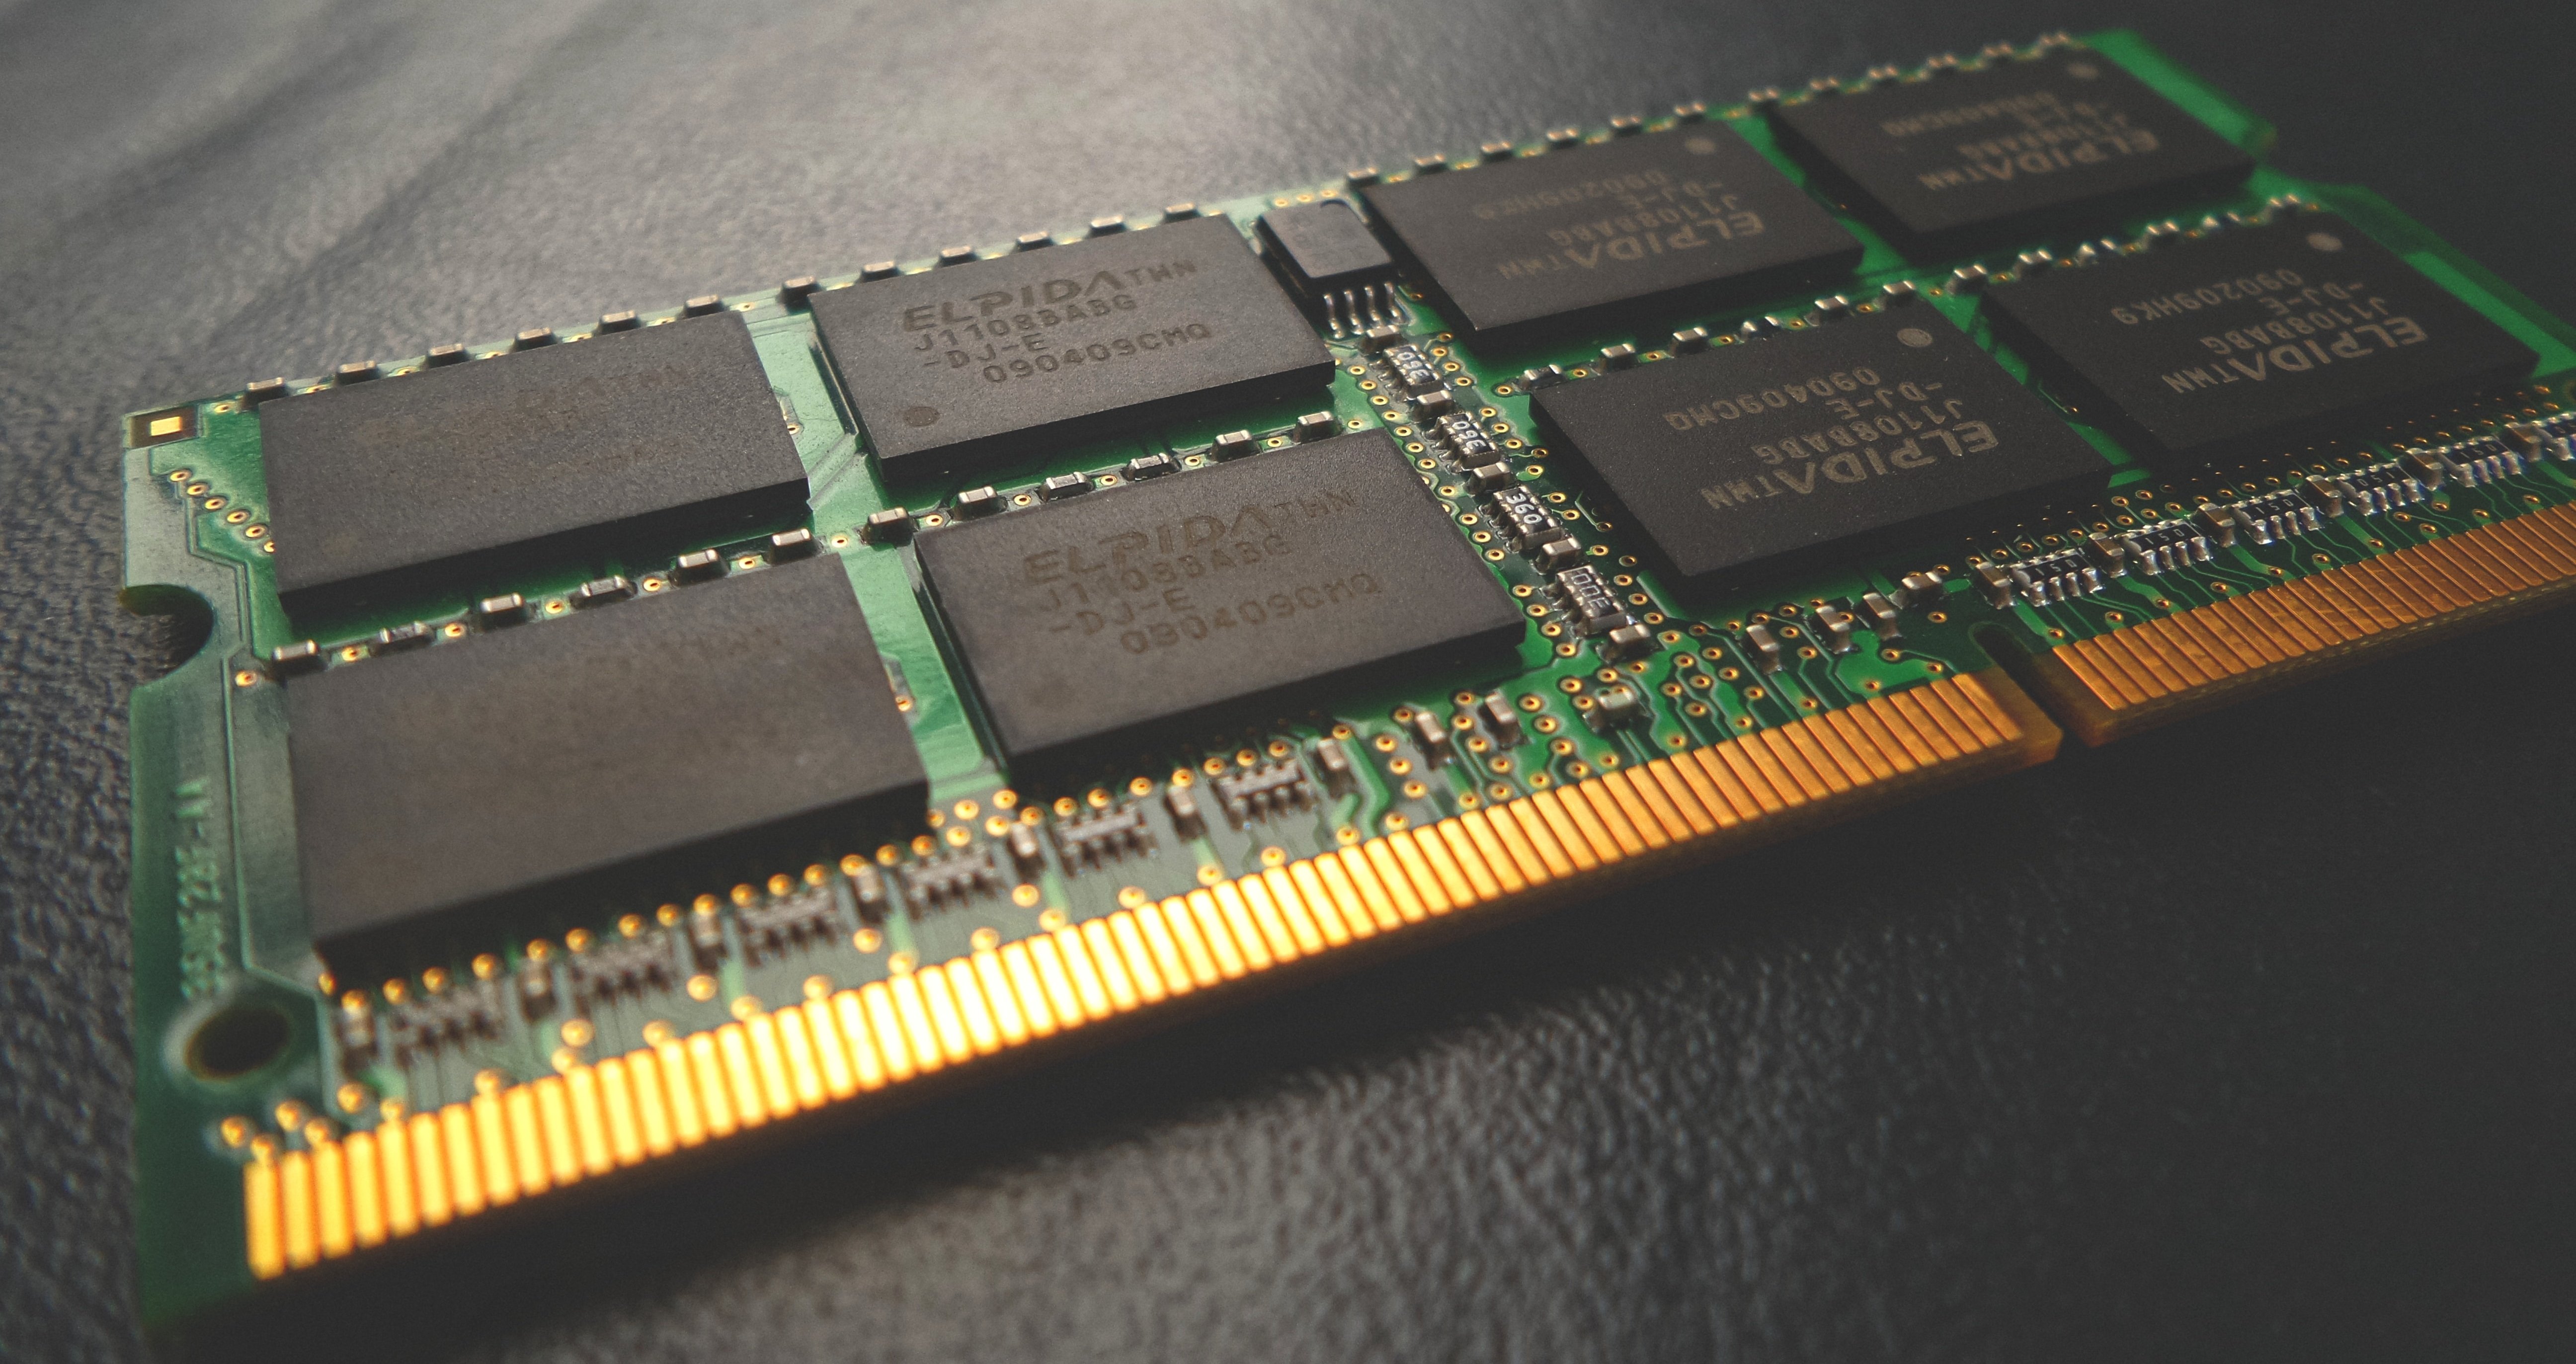
Is Chrome eating all your RAM? Does your laptop swap and page out then slow to a
snail’s pace 🐌? Looking for a quick fix that doesn’t mean upgrading hardware?
And, do you run Linux? If you answered yes and if you can find them, then you
could hire the A-Team then you could give
zswap a try!
This seemingly magical and seldom-used kernel feature turns part of your RAM into a compressed cache fronting your swap areas. So when you run out of memory and your much needed data is going to be moved onto your much slower SSD, or even worse to some spinning rust, instead the data is compressed in memory to save space. In effect you trade off some CPU cycles on compression so you use less RAM.
The memory savings are quite dramatic with the compression maxing out at a 300% reduction and some clever accounting of pages with repeating content can shrink things down even more. When I was doing some coding with lots of terminals, editors and browser windows open I was seeing over a 650% saving!
Before I enabled zswap my 8 gigs of RAM just weren’t enough and things started to get pretty dicey 😟, but after turning it on everything went back to being buttery smooth and Chromium was no longer destroying the universe 😎. Have I sold you yet on our lord and saviour, zswap? Great 😉, now I’ll show you how to set it up!
I’m running Manjaro but the same steps should work fine on Arch or any other derivative like Antergos etc. The first thing we’re going to do is install a systemd service to turn on and setup our zswap on boot. There’s already a lovely package in the repos to do this for us. The service can handle other kinds of swap for us too but we don’t need to use any of that, just run:
❯ sudo pacman -S systemd-swap
The defaults are already pretty sensible, they enable zswap using a maximum 25%
of RAM for the cache with LZ4 compression which is blazing fast and it activates
the page deduplication too. The one thing we do want to change is the memory
allocator: the default zbud is limited to 200% compression but if
we turn on z3fold then we get up to 300%. To do this we’ll create an
extension to the existing config:
❯ sudo sh -c 'echo -n zswap_zpool=z3fold > /etc/systemd/swap.conf.d/zswap.conf'
Woo, we’re almost done. The last thing to do is enable and start the service:
❯ sudo systemctl enable --now systemd-swap
If you want to confirm the settings have applied you can run this:
❯ sudo grep -R . /sys/module/zswap/parameters
/sys/module/zswap/parameters/same_filled_pages_enabled:Y
/sys/module/zswap/parameters/enabled:Y
/sys/module/zswap/parameters/max_pool_percent:25
/sys/module/zswap/parameters/compressor:lz4
/sys/module/zswap/parameters/zpool:z3fold
After you’ve started pushing close to your memory limit you can run this to see how zswap’s doing:
❯ sudo grep -R . /sys/kernel/debug/zswap
/sys/kernel/debug/zswap/same_filled_pages:13515
/sys/kernel/debug/zswap/stored_pages:16000
/sys/kernel/debug/zswap/pool_total_size:3903488
/sys/kernel/debug/zswap/duplicate_entry:0
/sys/kernel/debug/zswap/written_back_pages:0
/sys/kernel/debug/zswap/reject_compress_poor:1
/sys/kernel/debug/zswap/reject_kmemcache_fail:0
/sys/kernel/debug/zswap/reject_alloc_fail:0
/sys/kernel/debug/zswap/reject_reclaim_fail:0
/sys/kernel/debug/zswap/pool_limit_hit:0
Now you’ll get a nice little boost in performance when memory starts getting tight and things won’t slow down so much. Any questions or feedback on how zswap works out for you are most welcome in the comments 🙂!
Comments